Sensor Station
A few simple steps is all it takes to transform a Raspberry Pi into an Astro Pi-style Sensor Station that can be used to monitor temperature, air pressure and more!
Note: This project uses a lot of code. Some steps will prompt you to download .txt files of required code, which you may then rewrite or copy and paste.
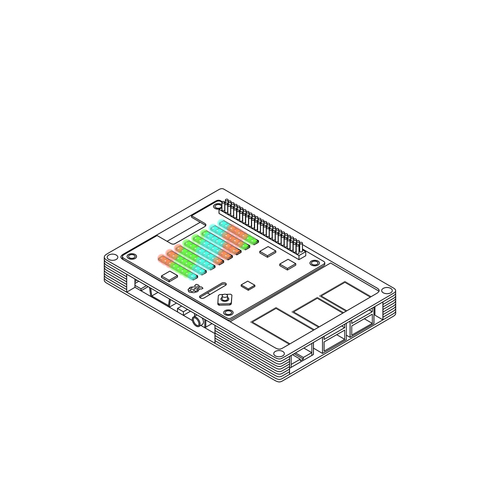
Step One: Attach the Sense HAT
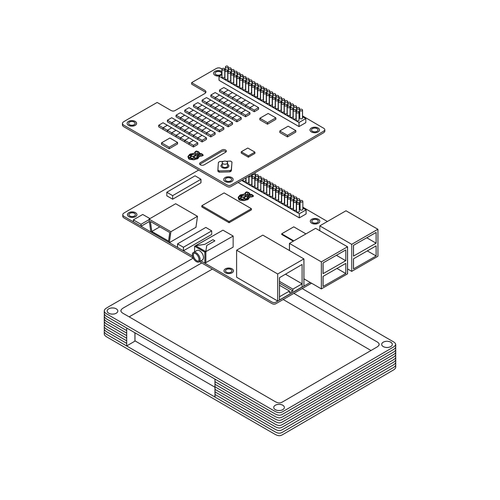
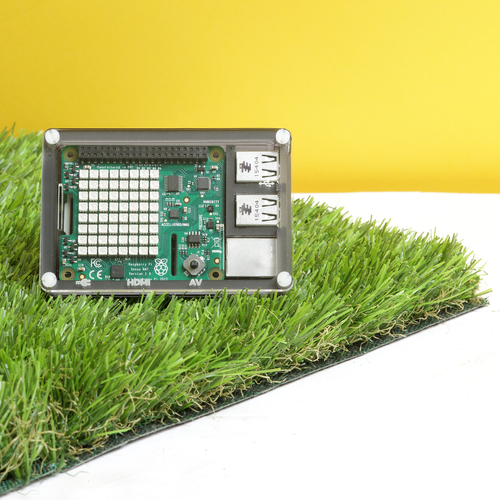
Before you begin you'll need a freshly installed and updated operating system on your Pi. Then, line up the Sense HAT's female header with the Pi's GPIO pins and gently push the Sense HAT down to attach it to the Pi.
To keep things neat, you can put the Pi and Sense HAT in a case, but it's worth noting that the heat generated by the Pi's CPU can lead to slightly high readings, especially if the case is closed up. (For greater accuracy you can connect the Sense HAT to the Pi using a ribbon cable, which enables the sensors to be distanced from the Pi.)
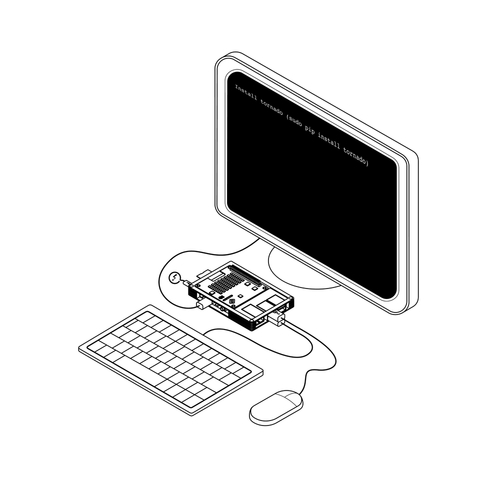
With the Pi up and running, you need to install the Tornado Library. This will run the web server part of the code, so you can read the values recorded by the PI anywhere on your home network. To install the Tornado Library, open the terminal and type the following:
install tornado (sudo pip3 install tornado)
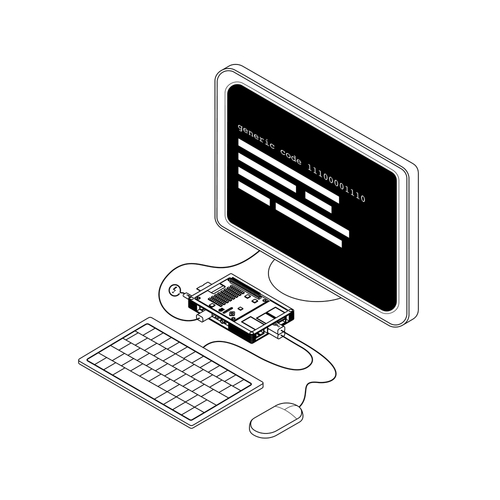
Step Two: Add Your Code
To run your code correctly, you need to set up three folders using the terminal and the 'mkdir' command:
mkdir /home/pi/PiSenseHat
mkdir /home/pi/PiSenseHat/templates
mkdir /home/pi/PiSenseHate/static/js
With the folders in place you can create your code files using the Nano text editor. To start with, enter sudo nano /home/pi/PiSenseHat/server.py and copy the code found here.
When you've finished, press Ctrl + X to exit Nano. You will be prompted to save the file by pressing Y.
Next, enter sudo nano /home/pi/PiSenseHat/SenseScript.py and copy the code found here.
Close and save the file as before.
Repeat the process by entering sudo nano /home/pi/PiSenseHat/templates/index.html and the code found here.
Finally, enter sudo nano /home/pi/PiSenseHat/ static/js/ jquery-2.2.0.min.js and copy the jquery-2.2.0.min.js code found here.
As before, save the file and exit Nano.
Step Three: Launch on Startup
Once the code has been added you can set it to run on startup. This is great if you're running the sensor station in a location that isn't easily accessible.
Once the rc.local file in Nano by typing sudo nano /etc/rc.local
Add the following commands to run before the exit 0 line. The first command runs the script that controls the Sense HAT's scrolling screen and the second triggers your web server:
sudo python3 /home/pi/PiSenseHat/SenseScript.py &
sudo python3 /home/pi/PiSenseHat/server.py &
When you've entered the code press Ctrl + X then Y, followed by Enter to save the file.
Reboot your Raspberry Pi using sudo reboot and your sensor station should be up and running automatically.
Step Four: Check the Display
There are two display elements to this project. The first is a scrolling display on the Sense HAT. This should start to run 10 - 15 seconds after the Raspberry Pi is powered up. If not, check the command entered in the previous step: the code is case sensitive and shouldn't feature any incorrect spaces.
The second display element is a web server that will allow you to view the data on any device connected to your network, such as a computer or smartphone. To do this you need to know the Raspberry Pi's IP address, which you can find by opening the terminal and typing:
sudo ifconfig
Step Five: Access the Server
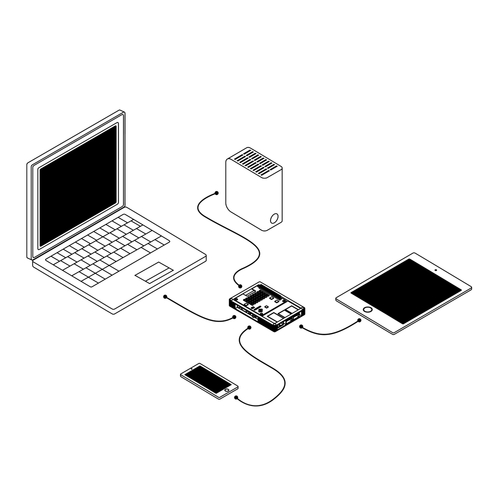
The previous command will list the network information for your Pi: the Wi-Fi information is listed as wlan0, and the IP address appears next to inet addr.
To access the web server, open a web browser window on your networked device (your computer, tablet, or smartphone) and type the Raspberry Pi's IP address into the address bar, adding :8000 at the end (this signifies port 8000, which is the port that the Raspberry Pi's web server is running on).
This will bring up a simple page displaying the reading from your Sensor Station: clicking on the button on the page will update the readings.