Retro Games Station
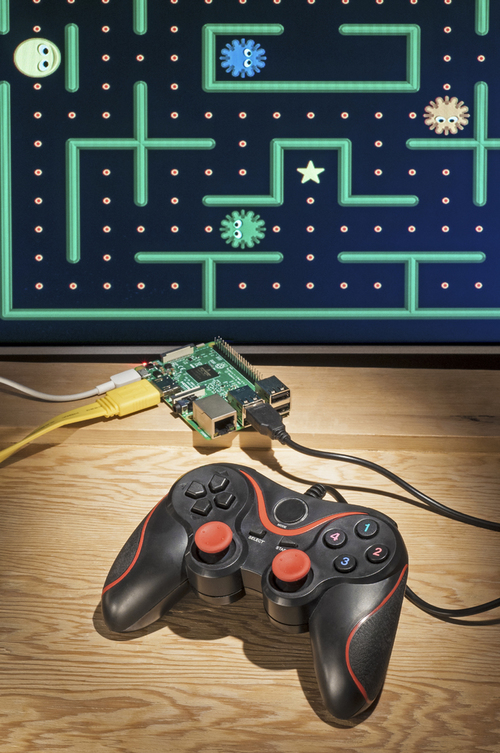
Your Raspberry Pi isn't just a tiny computer: with a few simple steps it can play an entire collection of retro games from a wide range of consoles.
Step One: Download RetroPie

For this build we're using a free piece of software called RetroPie.
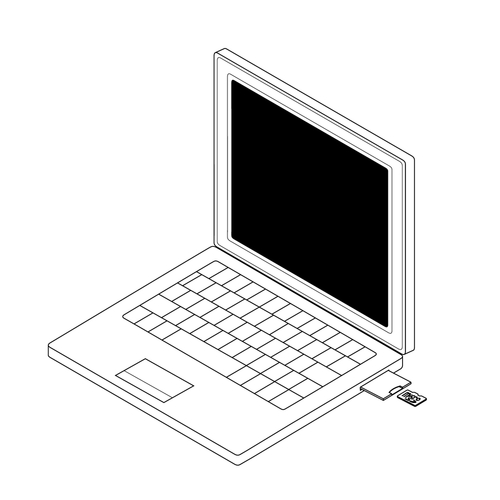
Using a laptop or desktop computer, head over to retropie.org.uk/download and choose the version of RetroPie you need, based on your Raspberry Pi model.
You will actually be downloading an 'SD image', which is a complete system built on top of the Raspberry Pi's Raspbian OS.
Once it's downloaded, the file will need 'extracting', which means converting the .gz file into an .img (image) file that you can use. You can do the extracting using a program such as 7-Zip.
Step Two: Put RetroPie on an SD Card
The next step is to install the image file onto a micro SD card.
Start by inserting the SD card into your computer's card reader (using a card adapter if necessary) and format it using SD Formatter.
Once your card is formatted, use Etcher to copy the RetroPie image to your micro SD card. Etcher is a free piece of software that is available for Windows, MacOS and Linus.
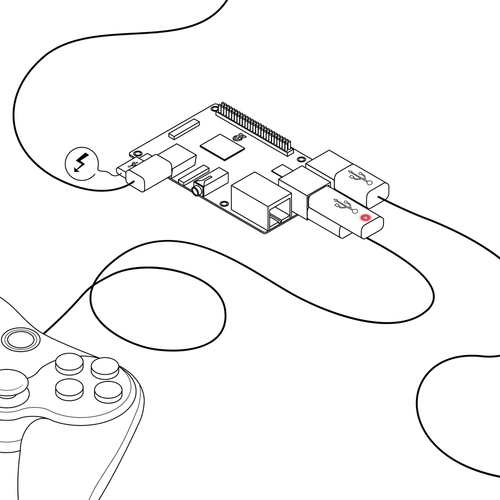
Step Three: Configure Your Controller
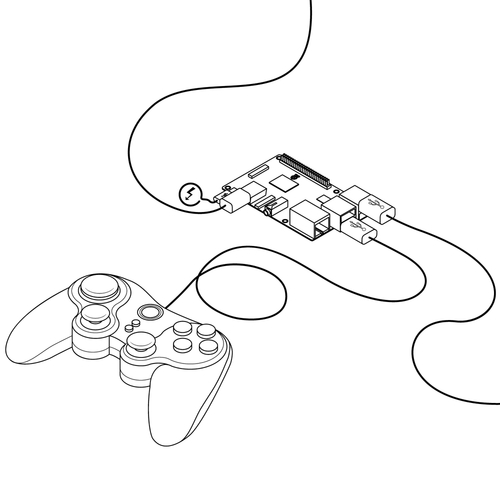
Take the newly updated SD card out of your computer and put it into your Pi. Plug in a USB controller, keyboard and HDMI lead, and then attach the power cable to fire it up – RetroPie will run automatically.
The first time you do this, you'll have a chance to configure your game controller. You are actually taken to something called EmulationStation, which will be the front end through which you access RetroPie.
Step Four: Install Your ROMs
Now, use your desktop computer or laptop to find the ROMS of the games you want to play. These are available all over the Internet, but you need to be sure that you are legally allowed to use the ROMs you download.
The easiest way to transfer your ROMs to RetroPie is to use a USB memory stick. Make sure the stick is formatted to FAT32 or NTFS and create a folder named 'retropie' on your stick.
Put the stick into your powered-up Pie, and wait for the lights to stop blinking: this will create a sub-folder named 'roms'. Remove the USB stick, and pop it into your computer.
Copy your ROMs into the 'roms' folder, under the game system the file matches (there will be individual folders for each games system you can emulate).
Step Five: Play Your Games!
Once you've copied your ROMs to your USB stick, eject it from your computer and plug it back into your Pi.
After the 'active' light on the stick stops flashing (which may take some time), restart EmulationStation.
All of your ROMs should now be available to play, listed under the game system they run on.