Pi Camera
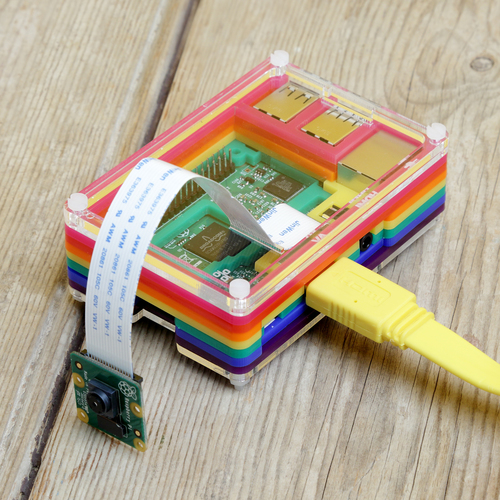
A lot of Raspberry Pi projects utilise a camera module.
This starter project will show you how you can connect a camera, enabling your Pi to start shooting video or stills.
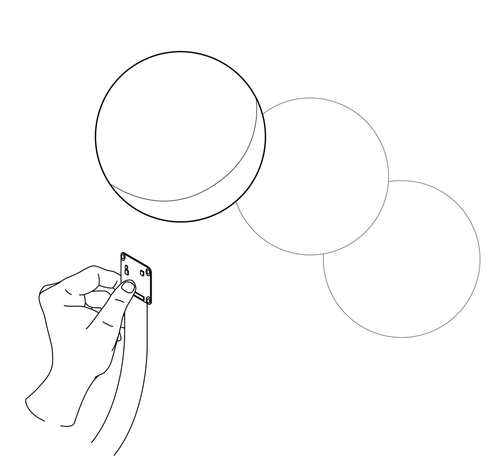
Step One: Ground Yourself
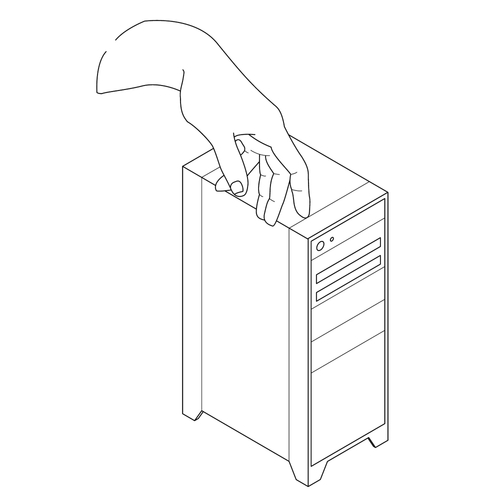
When your Raspberry Pi camera module arrives it will be protected by a special anti-static bag.
When you unpack it, there's a small chance that the static carried in your body could damage the new camera module, so ground yourself by touching a radiator or metal computer casing first.
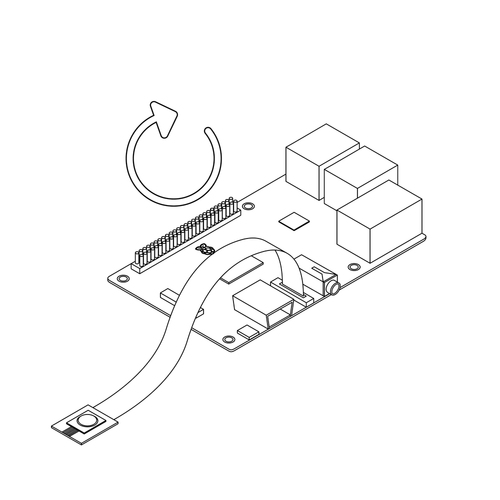
Step Two: Connect the Camera
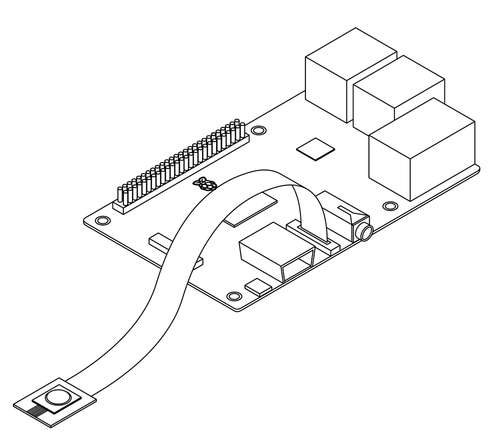
Connect the long, flat ribbon cable running from the camera module to your Raspberry Pi; you should find the right socket between your Pi's GDMI and Ethernet connectors.
Make sure that the shiny connectors on the ribbon cable are facing towards the HDMI socket.
Secure the ribbon cable firmly in place, by pulling up the piece
of black plastic on the connector, inserting the cable, and then pressing the plastic back down again. The cable should be locked in nice and snug.
Step Three: Activate the Camera
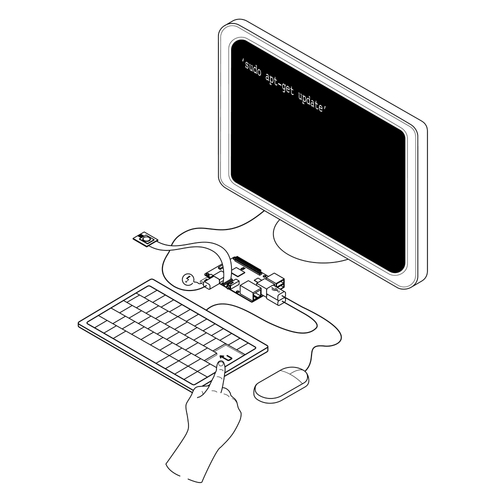
Open your Raspberry Pi's terminal and type:
sudo apt-get update
Press Enter, and then type:
sudo apt-get upgrade
Press Enter again.
Select Preferences from the dropdown menu at the top left corner of the screen and then Raspberry Pi Configuration.
From the window that opens select the Interface tab and check that the Camera setting is enabled before clicking OK
Step 4: Reboot Your Pi
If you have to make a change to the setting, you'll need to reboot your Raspberry Pi. Once your Pi has rebooted (or if you didn't need to change anything at step 3) open LXTerminal to start shooting photographs or video.
Step Five: Shoot a Still Image

If you want to take a still image, aim the camera at your subject and type the following into LXTerminal, replacing ***** with the filename you want to give the image:
raspistill -o *****.jpeg
Press Enter and a short preview will appear on screen, before the camera takes a shot. The image will be saved in your Raspberry Pi's home directly (by default this will be named 'Pi' unless you change it).
Step Six: Shoot Video
To record a short video, type the following into LXTerminal:
raspivid -o *****.h264 -t 10000
Again, change ***** to the filename you want for your video.
The 10000 at the end of the line refers to the number of milliseconds the video recording will last for. You can change this value to alter the length of your recording (note that 1000 milliseconds = 1 second).
Press Enter. The video clip will start recording straight away. Once recording ends it will be saved to your home folder.