Robust Minecraft® Server
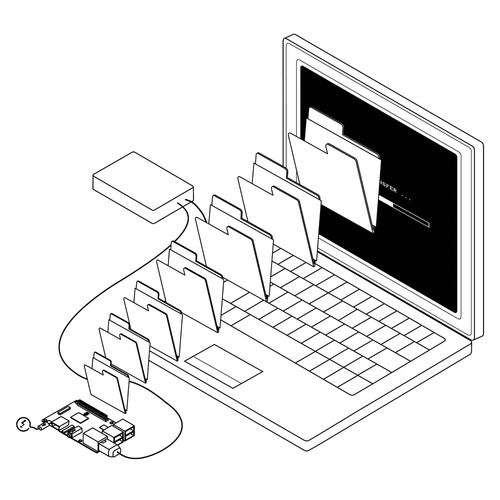
Using a Raspberry Pi as a Minecraft Server is a great way for you and your friends to play the game together.
Step One: Set Up Your Pi
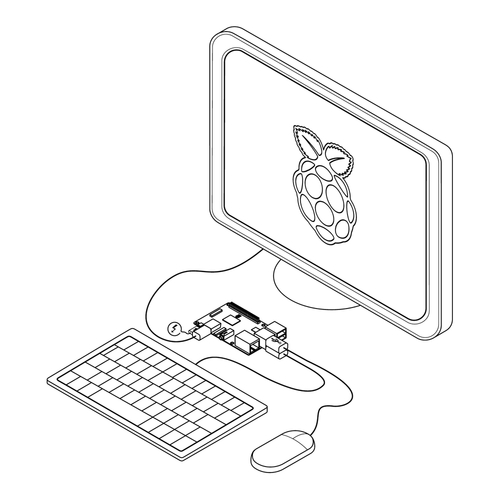
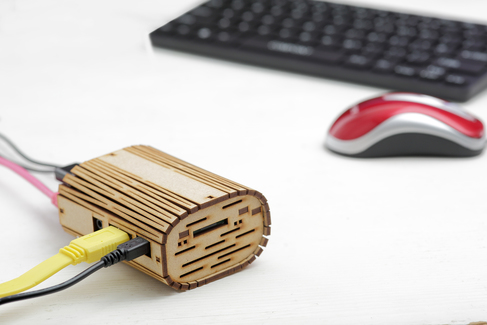
Make sure your Raspberry Pi is loaded with the latest version of Raspbian and connected to a monitor, mouse, keyboard and power supply
Open a terminal window and enter the following command. This may take up more than one line in your terminal window, but it must be entered as a single line of text:
sudo apt-get install netatalk screen avahi-daemon
Press Enter and the command will install a handful of packages that are essential for your server.
To confirm the installation has been successful, enter the command screen -list into the terminal – if you get the message 'No Sockets found', all has gone well. If you are told there is no screen command you will need to repeat the previous install step.
Step Two: Configuration Settings
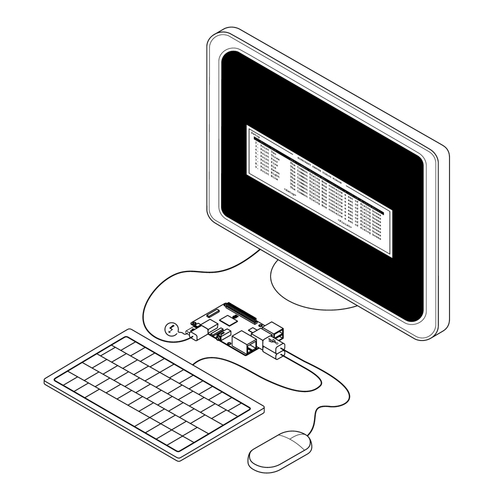
Once the installation has been confirmed, open your Pi’s configuration tool (using sudo raspi-config) and make these changes:
Expand FileSystem: This allows your Minecraft server to access the entire SD memory card.
Change Use Password: Change your Pi’s password from the default (‘raspberry’).
Enable Boot to Desktop/Scratch: Choose Console Autologin so the Pi automatically logs in and doesn’t boot to the desktop environment.
Internationalisation Options: Configure your time and location.
Overclock: If this option is available, set the overclocking to maximum.
Advanced Options > Memory Split: Set the memory for the GPU to at least 16. Advanced Options > SSH: Ensure that SSH server is enabled.
Exit the configuration tool, open a terminal window, type sudo reboot, and press Enter to reboot your Pi.
Step 3: Go 'Headless'
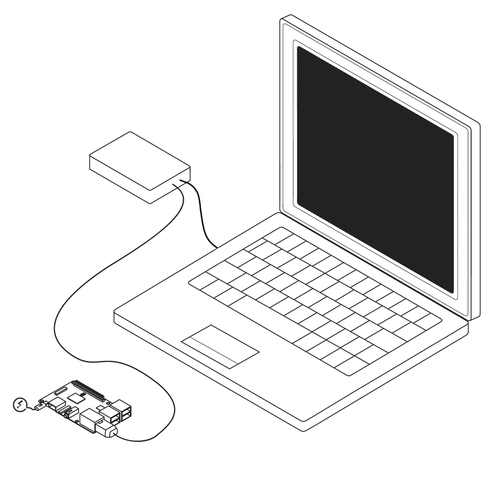
Now it’s time to move to your main computer, which you’ll connect to an SHH (Secure SHell). This allows a secure connection to another machine on the same network – in this case, your Raspberry Pi. Windows users should use a piece of software called PuTTY (available at www.putty.org) to access their Pi, while Mac users should enter ssh pi@raspberrypi.local into their computer’s terminal.
You will now have remote access to your Pi via its ‘bash shell’ and can unplug your Pi’s monitor, keyboard, and mouse. The Pi is now running ‘headless’. From the home directory on your Pi use the command mkdir minecraft && cd minecraft to build a directory where you will install your Minecraft files.
Step Four: Build The Server
The server is going to be based on Spigot, which is a modified Minecraft server. You can get the build file for Spigot using the following single-line command (note that this should all be entered as a single line, even if the command runs across multiple lines in your browser):
wget https://hub.spigotmc.org/jenkins/job/BuildTools/lastSuccessfulBuild/artifact/target/BuildTools.jar
Once downloaded, you can build the server using the command java -jar BuildTools.jar.
After a long wait you should find several files have been created. Enter the command ls spigot*.jar to confirm the filename of your Spigot file. We’re assuming a ‘1.9’ file here, and this number is used in the commands in step 5. If you get a different number, don’t worry – just replace ‘1.9’ in the commands with your Spigot file number.
Step Five: Start the Server

You can now fire up your server for the first time, using the command java -jar -Xms512M -Xmx1008M spigot-1.9.jar nogui.
This will create a file called eula.txt. Open this file using the command nano eula.txt and edit it so it reads eula=true.
Run the server again (using java -jar -Xms512M -Xmx1008M spigot-1.9.jar nogui for a second time) and prepare yourself for another long wait. When the command prompt returns, your server will be operational.
Step Six: Connect To Your Server
Run a game of Minecraft and connect to the server raspberrypi.local (on a Windows PC you first need to install ‘Bonjour Printer Services for Windows’). Verify that everything is working as it should and enter the final command: stop.