LEGO® Technic Case
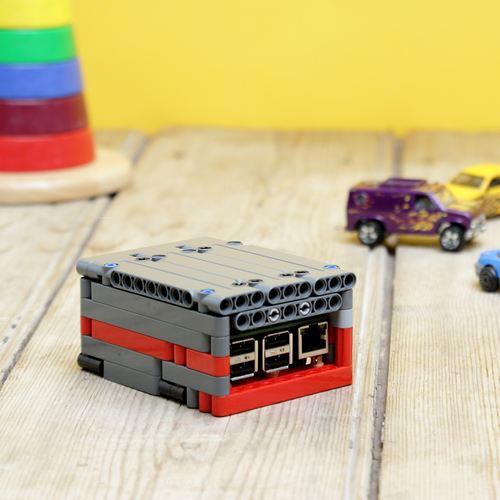
A case is an essential accessory for a lot of projects, but rather than buy one, why not make one yourself?
Step One: Build the Base
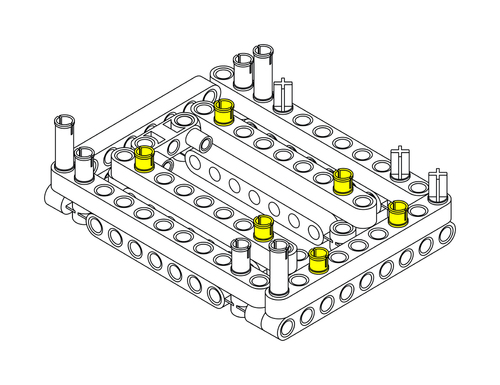
With this design, start by building a base using three 3 x 11M panels.
Add a nine-hole long beam across the end of your finished base piece and then start to build up the 'cradle' that will hold the Raspberry Pi in place (the small half-pegs indicated in the illustration will grip the Raspberry Pi).
Step Two: Add Your Pi
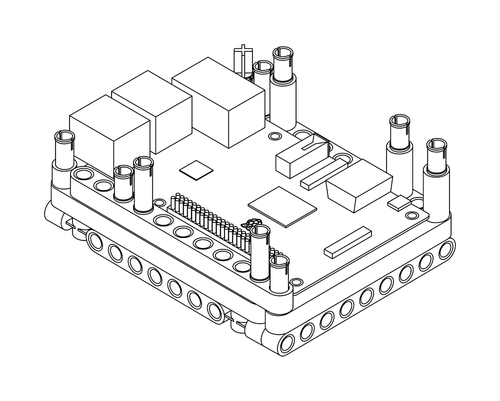
Put your Raspberry Pi in place as you build upwards.
Start to define where the gaps to access the various ports will need to be.
Step Three: Add the First Side Wall
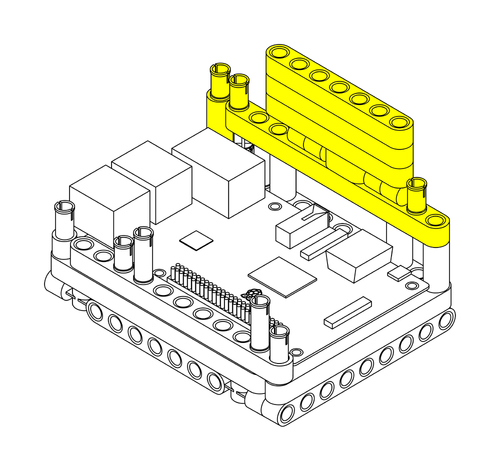
Make one of the side walls for the case, adding a small, hinged lid.
It may help to assemble the lid section before adding it to the case.
Step Four: Make Some Clamps
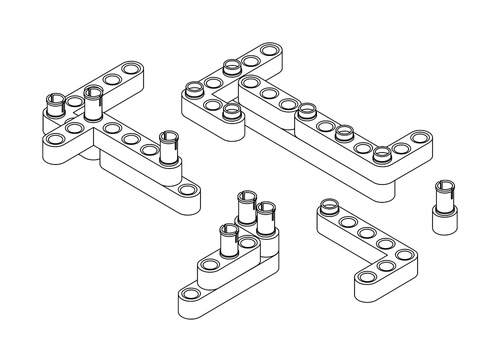
Next, assemble the pieces that will secure your Raspberry Pi within the case.
For this design we put the pieces together as shown, adding half-pegs that will rest on the top of the Raspberry Pi board to hold it in place.
Step Five: Lock Your Pi in Place
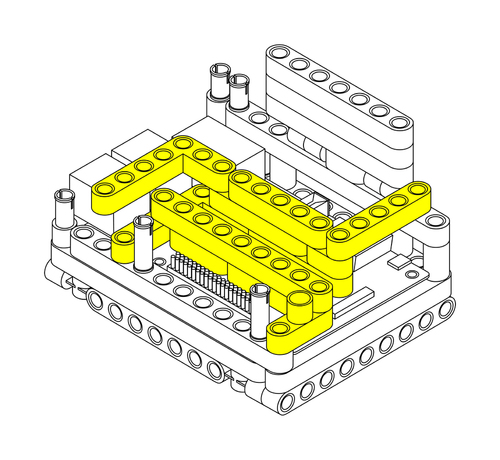
Connect the four pieces from the previous step together and attach them to the main case, over the top of the Raspberry Pi.
Step Six: Add the Second Side Wall
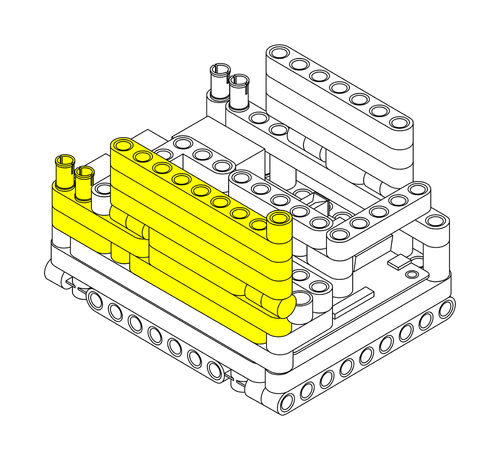
Build up the second side wall of the case and the second hinged lid, which will fold down to cover the GPIO.
Again, you may find it easier to assemble this section before adding it to the main case.
Step Seven: Close the Lid
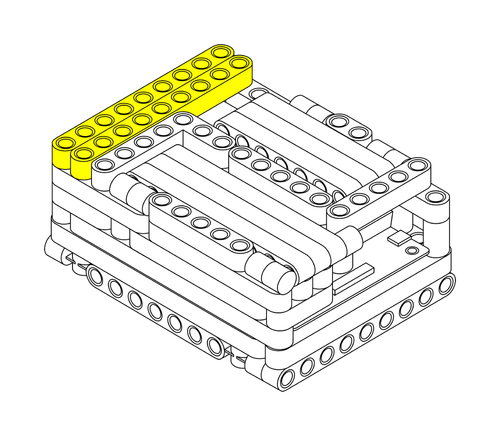
The final section is really simple: add two nine-hole beams at the end of the case, flip the two lids down and you're done!